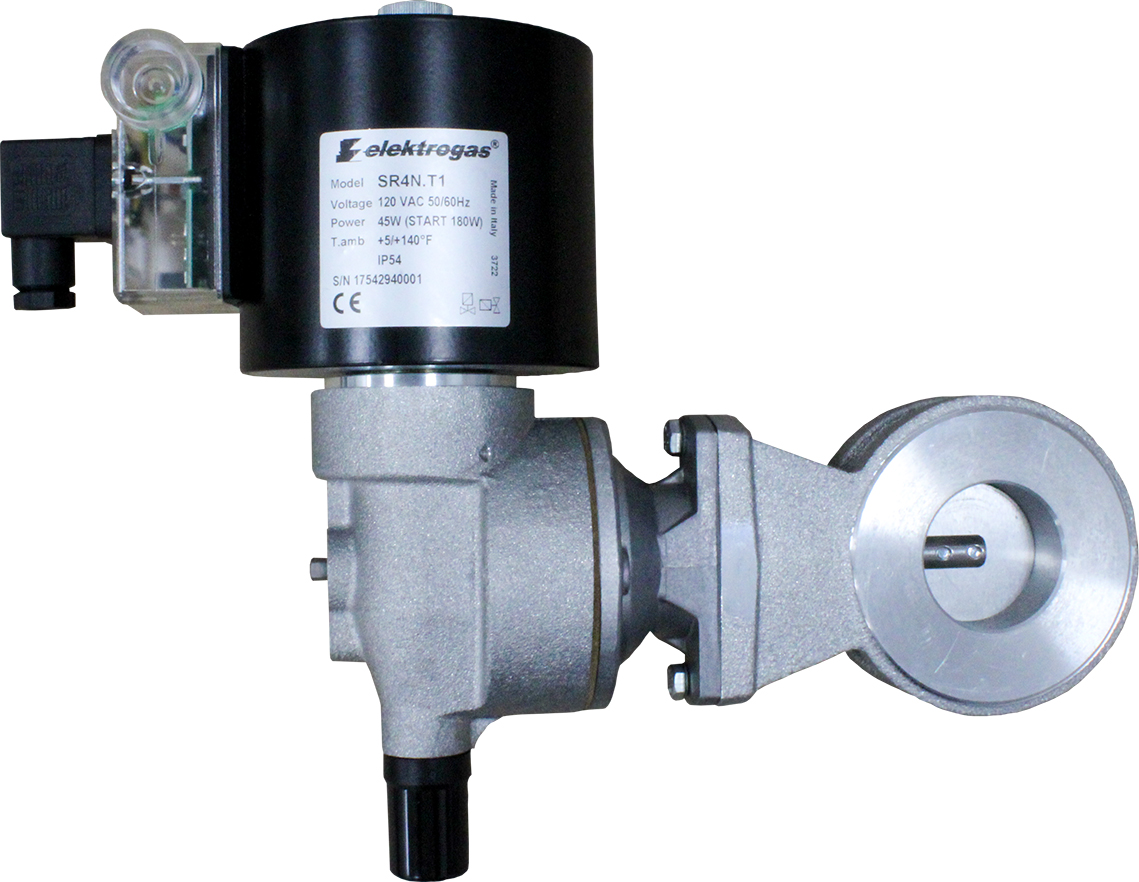
It’s easy to mate an Elektrogas S actuator with a VF butterfly valve. Here’s how it’s done:
Identifying the Parts
To begin, let’s gather and identify the necessary parts.
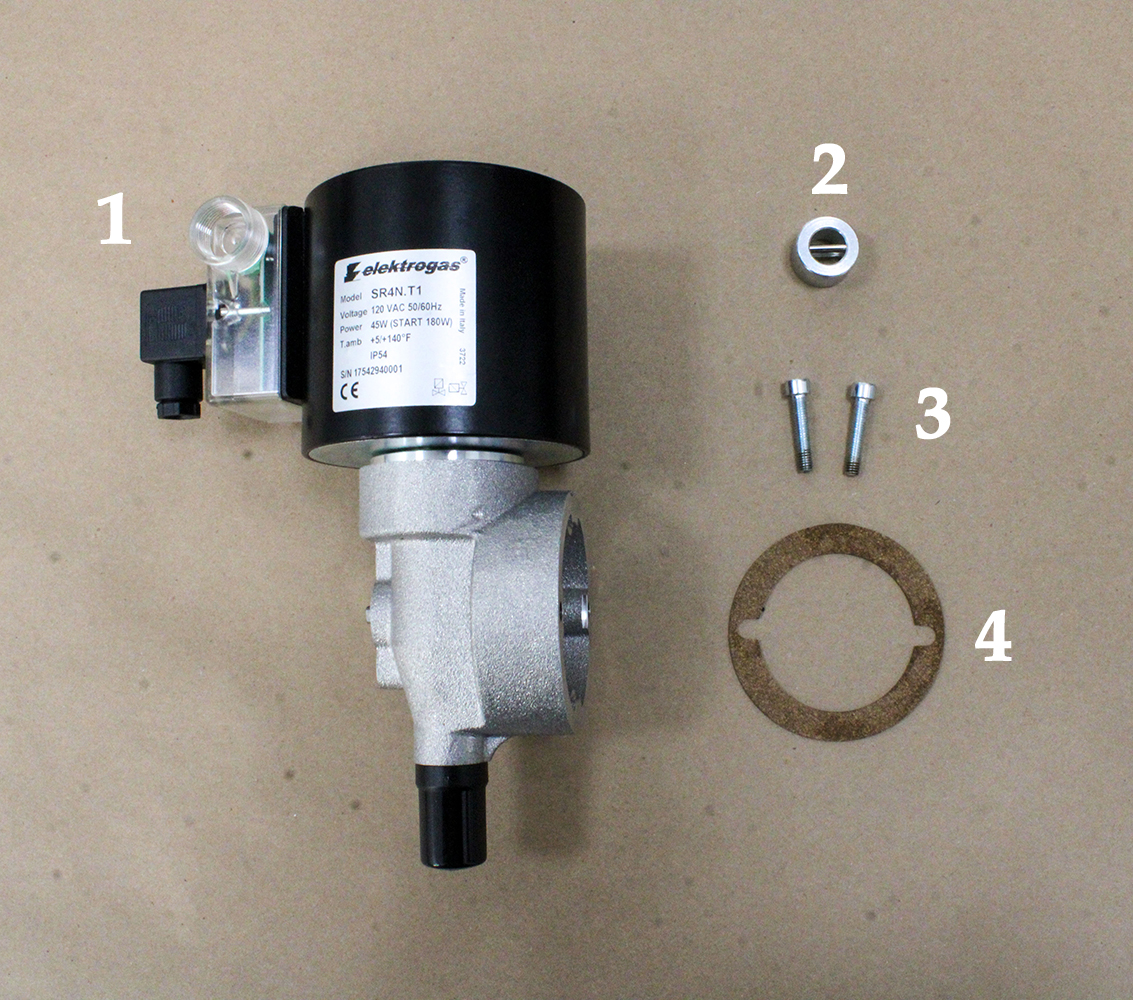
S actuators ship with the parts shown above.
1) The solenoid actuator
2) A connection ring
3) Two screws
4) A cork gasket
Butterfly valve VF ships alone. Set S is required to attach the valve to an S actuator.
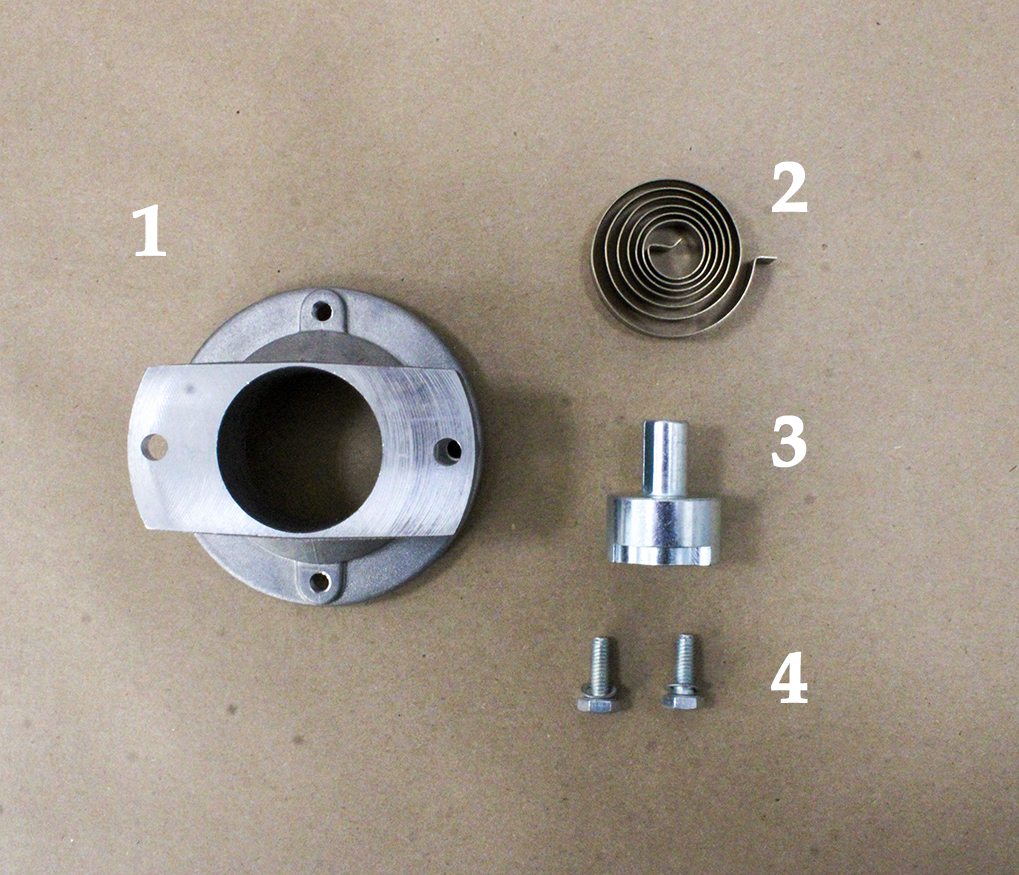
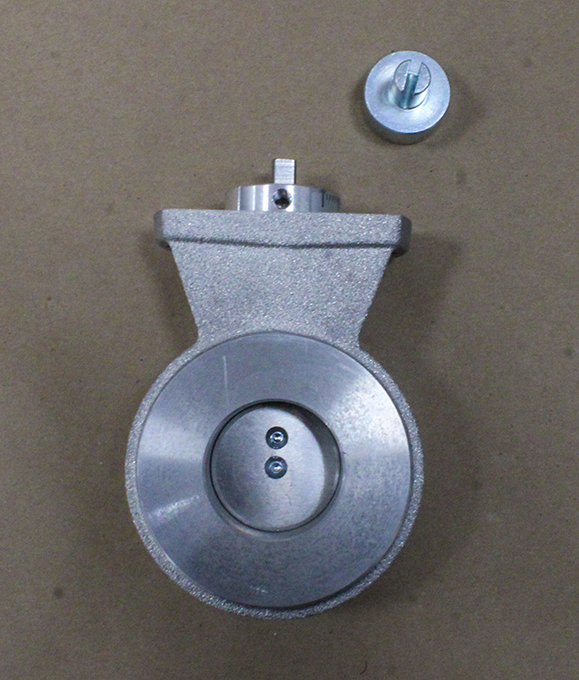
Set S contains the parts shown above.
1) A stand-off housing
2) A copper-colored spring
3) A slot adapter
4) Two small screws with washers
Attaching the Valve
Step one: Remove the coil from the actuator. To do this, you’ll need to loosen and remove the nut located at the top of the coil.
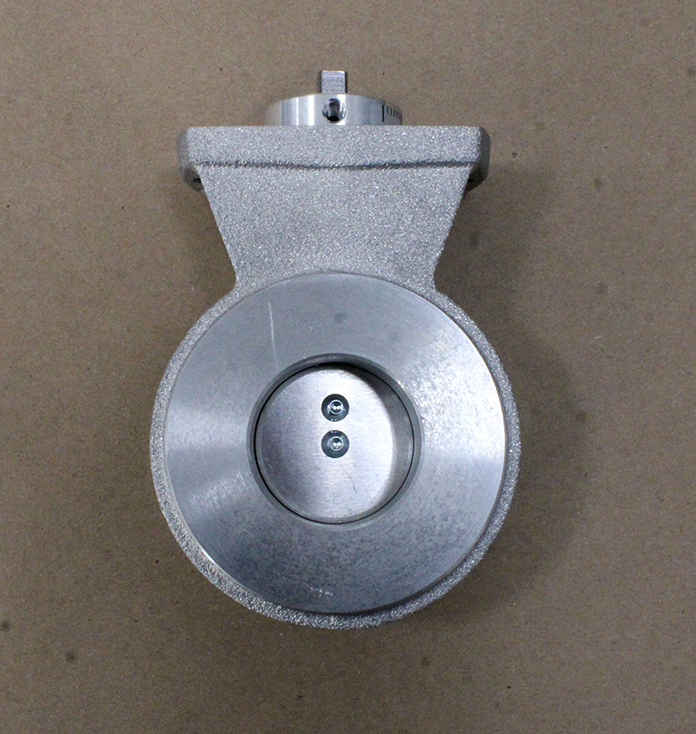
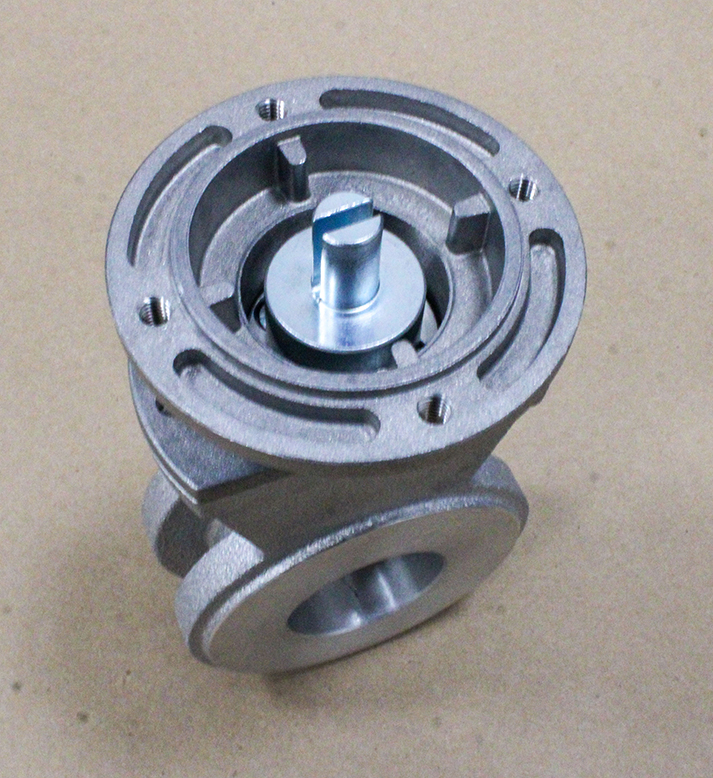
Step two: Insert the slot adapter from Set S into the top of the VF valve.
Step three: Tighten the inner screw on the slot adapter to secure it to the VF. Be sure to align the screw for the slot adapter to the screw on the VF. Failure to do so will result in valves failing to open. (Line the screws up as pictured below)
Step four: Attach the stand-off housing to the VF. Use the two smaller screws with washers from Set S to secure them together.
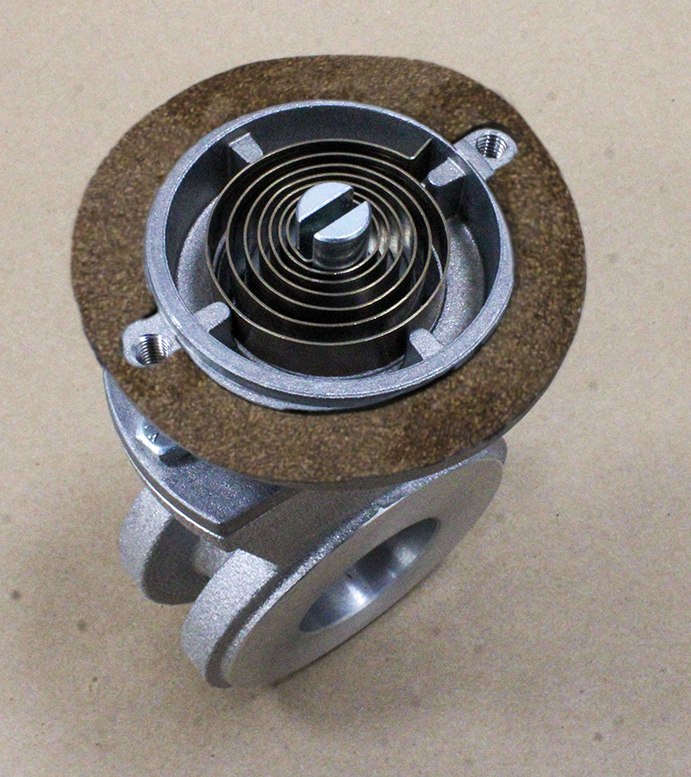
Step five: Insert the copper-colored spring into the slot adapter.
Step six: Add the gasket to the stand-off housing, paying attention to the cutouts to allow for fastening the actuator.
Step seven: Now, use the two long screws included with the actuator to attach the valve to the actuator.
You’re all set! Your S actuator and VF valve combination should resemble the picture above. It’s a good idea to test the assembly by powering the actuator and watching the valve move, just to check your work.
Butterfly Valves VFH & VFT
The S actuator can drive butterfly valves VFH (for pre-heated air) and VFT (with threaded connection) as well! Mating to the VFH requires no additional hardware. Set ST is required to fix and S actuator to a VFT.
For Automation
We believe in automation for all! Visit olstrad.com and contact us to learn how we can help you automate!


